Save Recovered Data
Save Data
- Select the recovered data files from left panel.
- Click on 'Save Data' button, window dialog box appear and ask user to browse the location where data files and directory has to be saved.
- Select the location and click on OK button.

You have to select only different destination drive to save the recovered data. Saving data in same drive/volume may cause overwriting and your data may lost forever.
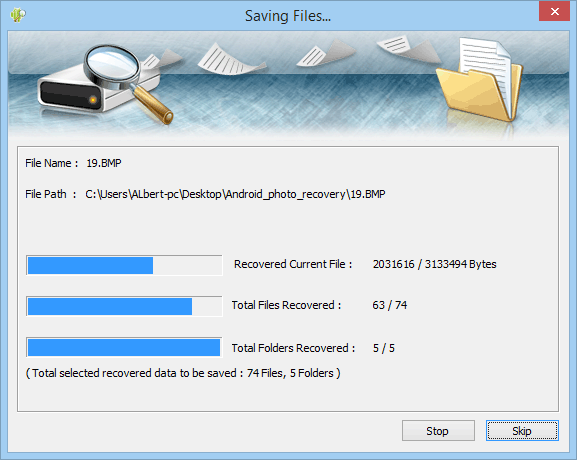
Saving Selected Data
Software starts saving the recovered files on selected destination path as shown in following screen.

Introduction
-
 About Data Recovery Software
-
 How To Use Documentation
-
 Why Pro Data Doctor
-
 Information About Windows Data Recovery Software
-
 Information About NTFS Data Recovery Software
-
 Information About FAT Data Recovery Software
-
 Information About USB Drive/Pen Drive Data Recovery Software
-
 Information About Removable Media Data Recovery Software
-
 Information About Memory Card Data Recovery Software
-
 Information About Digital Camera Data Recovery Software
-
 Information About Digital Pictures Recovery Software
-
 Information About Sim Card Data Recovery Software
Common Features Of Data Recovery
You may also like other software
 Data Recovery Software
 Database Converter
- MSSQL to MySQL Database Converter
- MySQL to MS Access Database Converter
- Oracle to MySQL Database Converter
- MySQL to MSSQL Database Converter
- MS Excel to MySQL Database Converter
- MySQL to Oracle Database Converter
- MS Access to MySQL Database Converter
- MySQL to MS Excel Database Converter
- Excel Converter Software
- Excel to Phonebook Converter
- Excel to vCard Converter
- Excel to Windows Contacts Converter

